How To Repair A Leaking Camper And RV Roof
How To Repair An RV Roof
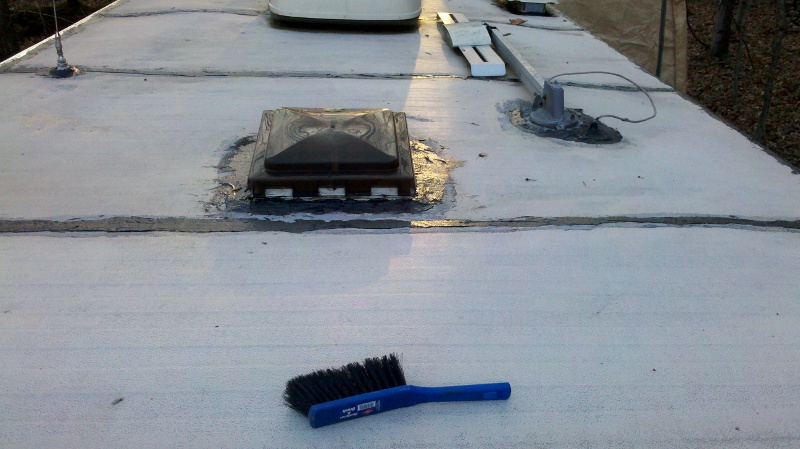
DIY Trailer and RV Roof Repair and Camper Waterproofing
This will be a multi-part series about camper, RV and trailer repair. Actually, these articles will fit for most any metal shelled home. The first part will be about how to water proof your trailer from top to bottom. Trailers usually leak the most at the roof, so we will start there first.
If you follow the steps shown in this article, and keep your trailer maintained, you should get a lifetime of use from it.
This series will cover some of the most extreme water damage and show you that nearly any camper with its outer shell still intact can be salvaged. You may also be surprised at how inexpensive it can be to repair an RV or camper yourself.
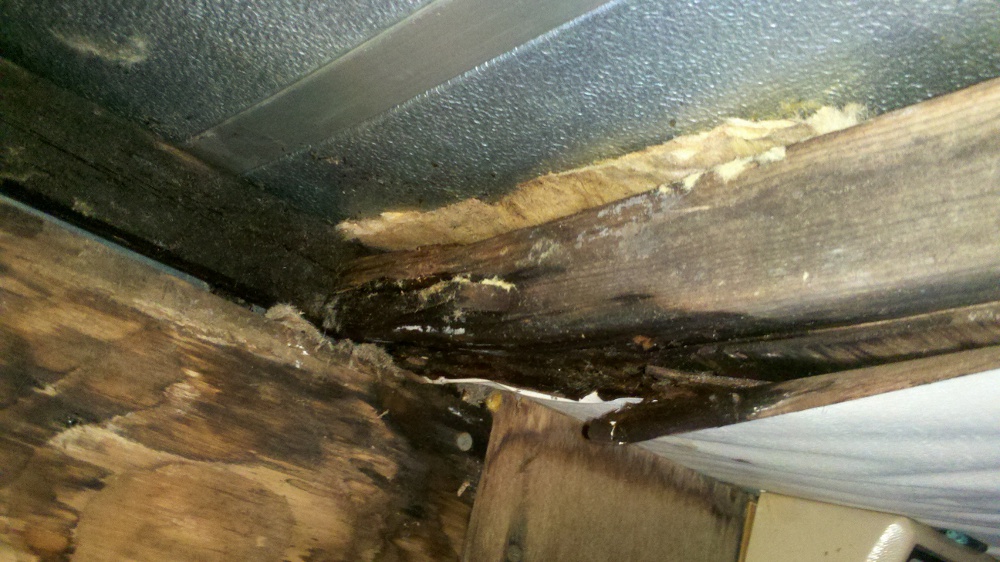
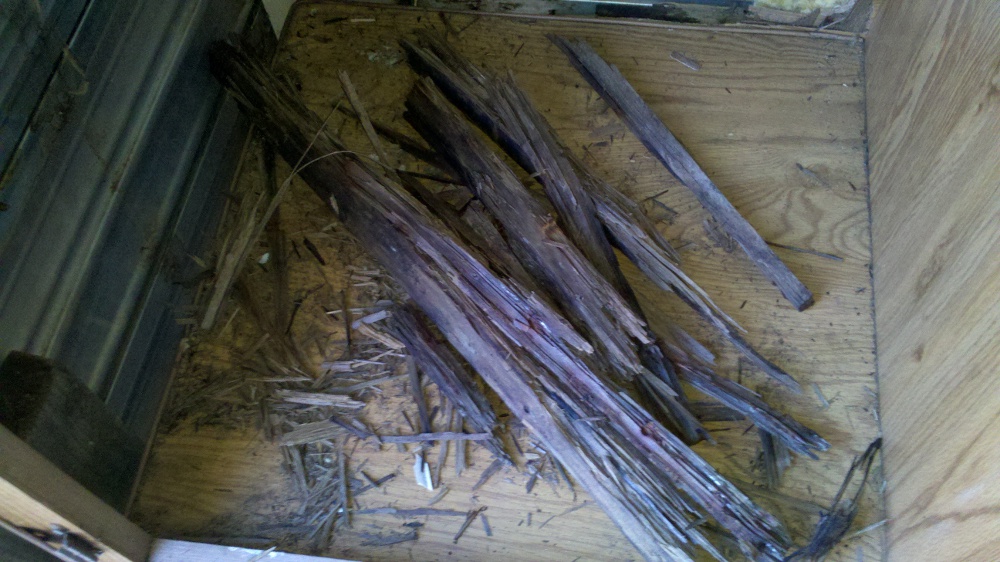
Below you can see a couple photos of a very badly water damaged camper. The frame in the ceiling was soaking wet and you could push your finger into the wood, it was so soft. The ceiling was sagging due to the frame being damaged, which worsened the damage by allowing water to seep into the roof seams. Near the rear of the trailer, the wood was dry rotted from old water damage and it fell apart into tiny fragments when pressure was applied with the hand.
Do-It-Yourself Trailer Roof Sealing and Repair
The first thing you need to do is wash the roof thoroughly. Then dry it off as good as possible. Of course, a small hand brush is great to push off all the extra water in the lower and sagging areas of the roof. If you brush the water off briskly, you can follow up with a hand towel and wipe the area dry.
Scrape or brush off any remaining debris or old roof patch material. Often, old tar or patching will flake or lift off. Sometimes it is raised a bit on the edges and allows water to seep underneath. If needed, you can take a flat scraper or wide tipped screwdriver and carefully scrape off any loose tar or patching material. Be careful not to punch through the roof as you work.
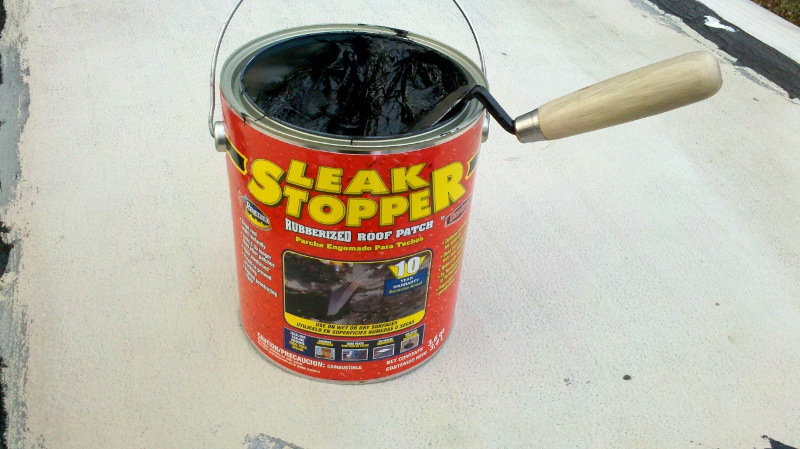
Rubberized Leak Stopper
The rubberized Leak Stopper, pictured above, is one of the best materials that you can find for trailer roof repair. It seeps deep into cracks and crevices and forms a special bond with the metal roofing material to form a permanent seal. It is guaranteed for many years of solid protection and only costs about $17 for a gallon.
Wear protective clothing when working with this stuff. It is just like tar and will ruin clothes. Wear disposable gloves as well. This stuff will not wash off (experience talking).
Use an old, disposable paint brush or metal trowel to spread an even coat over every seam on the trailer roof. Make sure you coat it well. Cover about an inch extra on both sides of the seam. Seal around vents, air conditioners, antennas and anything else sticking up through the roof. These are also problem areas that we often never notice until it is way too late. Slow leaks occur around these points and stay hidden for years. When we discover the damage, it is already very much advanced.
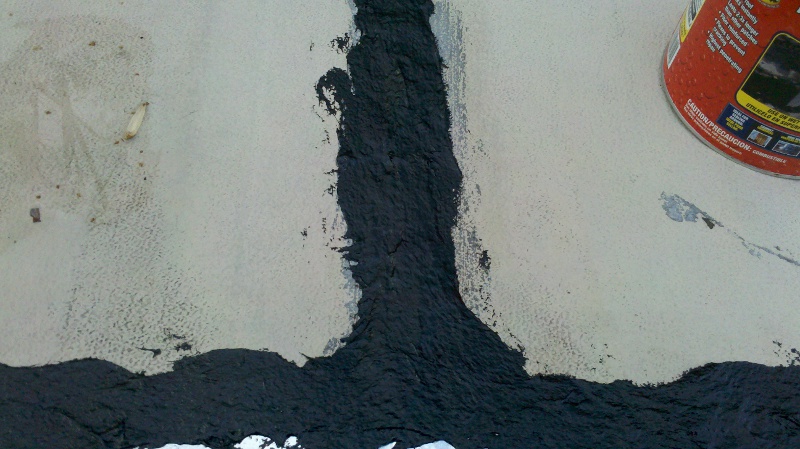
Spread Sealer Evenly Around Roof Seams
Notice in the photo above how the sealer is spread thin, but wide over the seams. Make sure that you coat the seams very well and spread the tar outward from the center of the seam. Cover every single seam and crack in your roof. Not just the problem areas. If you coat every seam, you can prevent future leaks as well.
For larger rips or tears in your camper roof, you may need some fiberglass repair tape (shown below). Spread your roof repair tar all over the area to be patched. Then lay some fiberglass screen over the hole. Spread more of the roof patching tar on top of the tape, covering it completely. Your roof should not leak again.
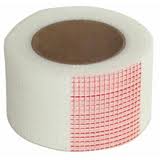
Fiberglass Repair Screen
You can watch the video here: How to repair your RV or trailer roof on a budget and make it last
While you are over there please subscribe to my YouTube channel and follow my projects and experiments in alternate energy and electronics.
We hope this article helps you out in your camper repair job. The next article covers how to seal all of the seams on the walls and sides of your camper providing you with many more years of use from your RV or trailer. See How To Waterproof Your Trailer or RV
Feel free to ask any questions or get help with your project on our
About the Author
| Troy Reid |


